Gradually increasing cold exposure can help build your tolerance to cold plunge therapy for better results.
You don’t have to suffer to adapt. You just have to train smart.
Picture this:
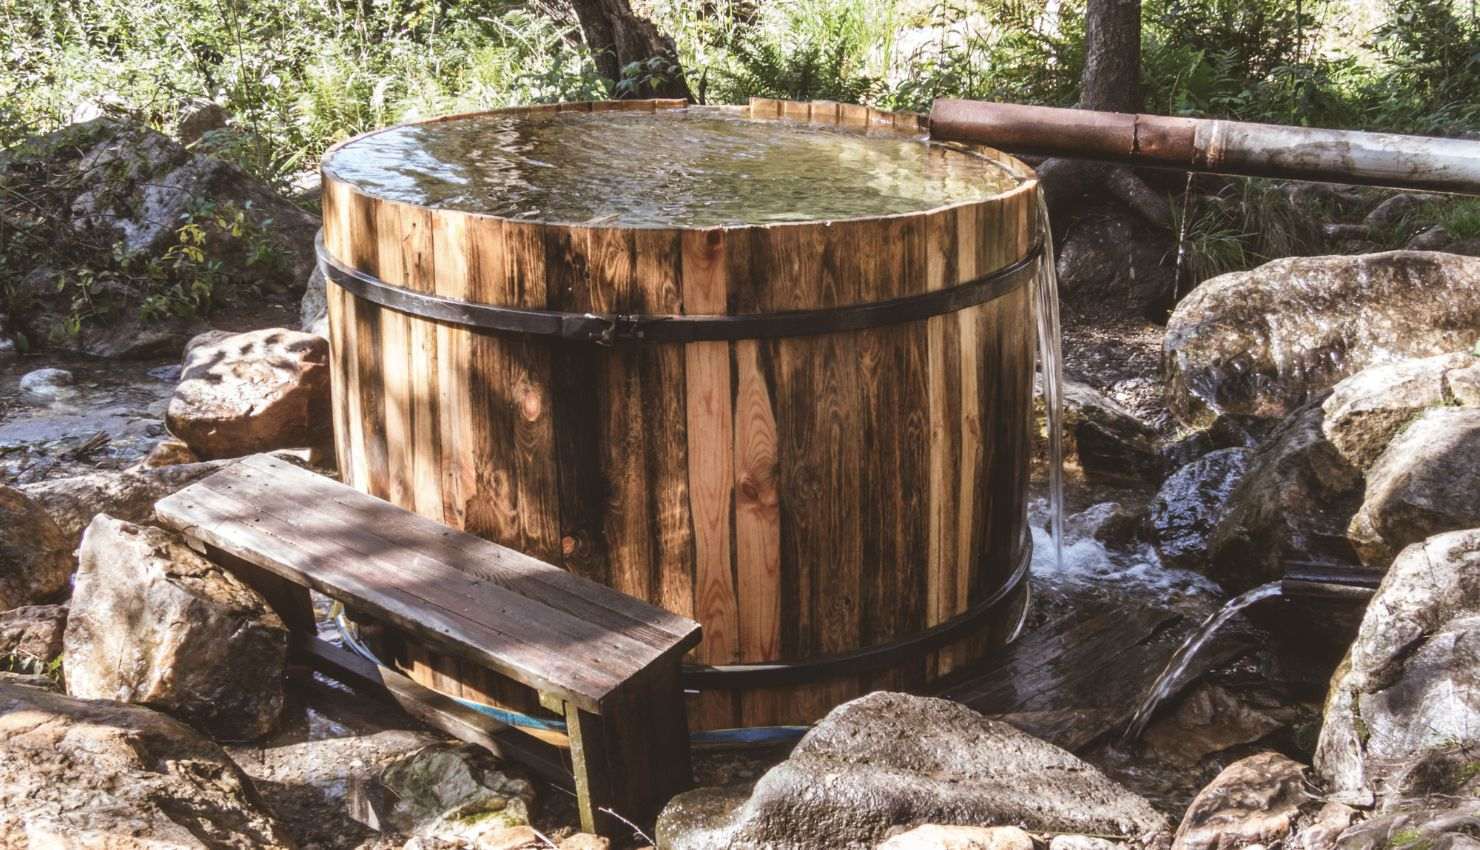
You’re standing in front of a cold plunge tank. The water is sitting at a crisp 10°C. Your brain says “nope”, your breathing gets shallow, and everything in your body screams to walk away.
But you’ve seen people online swearing by this — how it changed their recovery, boosted their focus, and turned them into “mentally tougher” versions of themselves.
The question is: how do you actually get to that point — safely, sustainably, and without burning out or freezing yourself into a stress spiral?
At YFS (Your Form Sux), we see cold exposure the way we see rehab, strength training, or nutrition — it’s a tool. It needs progressive loading, intentional practice, and smart coaching. Not ego.
If you’re interested in using cold exposure to build resilience, improve recovery, or just feel more capable in your body, here’s your complete guide to building cold tolerance the right way.
Why Bother With Cold Exposure?
Before we dive into how, let’s talk about why cold tolerance matters. Because this isn’t about showing off your pain threshold — it’s about building better stress adaptability, inside and out.
Physiological benefits of building cold tolerance:
- Improved circulation and blood vessel function
- More efficient nervous system regulation
- Reduced inflammation and muscle soreness
- Stronger immune system response (via hormetic stress)
- Mental clarity, alertness, and mood improvements
- Greater control over the fight-or-flight response
All of that sounds great — but only if it’s done intelligently. Which brings us to the problem…
The Problem with How Most People Approach Cold Exposure
Too many people dive into cold exposure like it’s a viral challenge. They go straight for extreme cold and long durations without understanding what their body is actually going through.
Here’s what often goes wrong:
- Pushing into cold shock and losing breath control
- Staying in too long and experiencing hypothermia symptoms
- Using cold incorrectly (like right after strength training when it can blunt adaptation)
- Mistaking intensity for effectiveness
- Ignoring what their body is telling them
The result? Burnout. Injuries. Numbness. And zero long-term benefit.
Just like you wouldn’t load 400 lbs on a barbell without training — you shouldn’t plunge into 5°C water without preparation.
The Science Behind Cold Tolerance
Cold exposure puts your body under acute stress — your heart rate rises, blood vessels constrict, and your nervous system enters high alert. But over time, with controlled exposure, your system learns how to adapt.
This process is known as hormesis — a short, manageable dose of stress that creates a long-term adaptation. When done right, it makes your body and brain more efficient under pressure.
What you’re really training isn’t just your skin or your pain tolerance — it’s your nervous system, your vascular system, and your mental discipline.
Step-by-Step: How to Build Cold Tolerance Safely
Here’s your progressive plan to build real cold resilience — no shortcuts, no heroics, just smart stress training.
Step 1: Start with Cold Showers (2–3 weeks)
- Start with 30 seconds of cold water at the end
- Focus on nasal breathing and staying relaxed
- Build up to 2–3 minutes by increasing 15–30 seconds every few days
- Do this 4–5x per week to let your system adapt
✅ Goal: Stay calm, breathe well, and finish without panic or tension.
Step 2: Introduce Contrast Showers (optional bridge)
- Alternate between hot and cold (30–60 seconds each, 3–4 rounds)
- Great for recovery, boosting circulation, and prepping for full immersion
✅ Goal: Stay controlled during both hot and cold cycles.
Step 3: Beginner Cold Plunges (Weeks 3–6+)
- Start at 12–15°C for 1–2 minutes
- Focus on breath control: long exhales, no gasping
- Exit when you feel deep shivering or mental overwhelm
- Only 2–3 times per week to avoid nervous system overload
✅ Goal: Build up to 3–5 minutes, decrease temp only if tolerance improves.
Pro tip: Journal how you feel after each plunge — energy, sleep, mood, soreness. Track actual benefits, not just “grit.”
Step 4: Intermediate Conditioning (Weeks 6–12+)
- Drop temp to 8–10°C for shorter durations (2–3 minutes)
- Train before cold exposure — not after heavy strength work
- Pair cold with mobility or breathwork for integrated recovery
✅ Goal: Use cold to support performance — not to replace movement.
Safety First: What to Watch Out For
Cold exposure is safe for most people — but not all. Talk to a health pro if you:
- Have heart or circulation issues
- Have high blood pressure or nervous system disorders
- Are immunocompromised or have Raynaud’s disease
- Are pregnant or have serious adrenal fatigue
Key safety reminders:
- Never cold plunge alone
- Don’t force duration if your breath is out of control
- Warm up slowly — skip the hot shower
- Stop if you feel dizzy, confused, or shiver uncontrollably
Signs You’re Building Real Cold Tolerance
- You stay calm in cold water without panic
- Your breath stays slow and steady
- Your recovery improves (sleep, soreness, mood)
- You stop reacting strongly to cold air or wind
- You want to do it — not just “tough it out”
Remember: Resilience isn’t about pain. It’s about control.
The YFS Take: Cold Exposure is a Tool — Not a Flex
At Your Form Sux, we teach people how to recover smarter, not harder. Cold plunges? Great — but only when used with intention.
We’ll help you build a cold exposure protocol that fits into:
- Your training plan
- Your nervous system’s capacity
- Your long-term performance goals
Because just like your form — your recovery shouldn’t suck either.